


I found the idea for a toddler flat sheet that is partially fitted online, but couldn't find a good tutorial. So here is my version. It is pretty fast. Now my guy can squirm all he wants and the sheet will stay in place.
Materials needed: 1 3/4 yards fabric - I used flannel because it's so soft, I always prewash
matching thread
2 pieces 12" long of 1/4" elastic
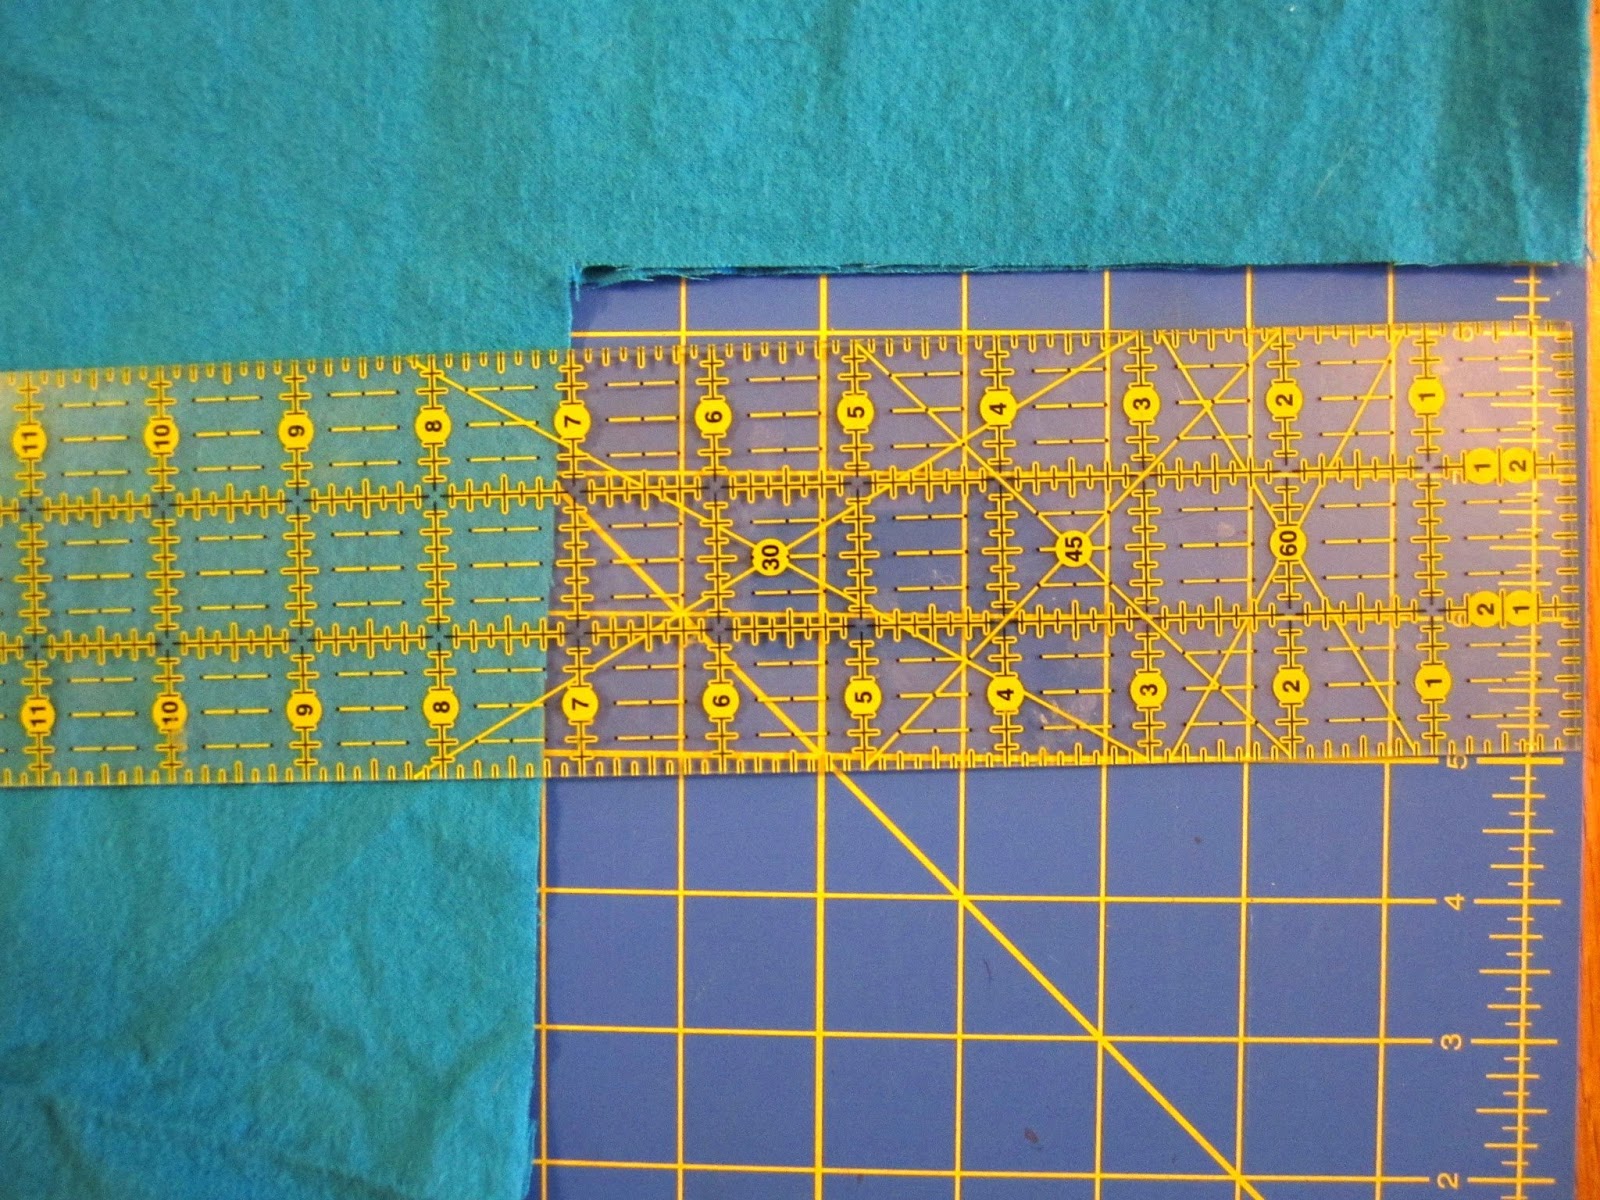
To begin, fold your fabric in half the longway and line up the bottom corners. Cut out a 7inch square. This creates the basis for your fitted corners.
Now take just one corner and fold the edges together - WRONG SIDES (back of the print) together. Pin. We're going to make a French seam so we don't have to worry about fraying in the wash.

Sew a 1/4 inch seam. Then turn your corner inside out so that your corner is RIGHT sides (print side) together. My fabric is solid flannel so it is hard to tell front from back.

Sew a 1/2 inch seam. Turn your corner out again and voila - French seam! Repeat for the second corner.

To create our fitted corners, begin by folding under 1/4" fabric around the bottom of the sheet. Press. Then fold again, this time 1/2". Press and pin. Be sure you are folding toward the inside of the sheet, not the outside.

Using a tape measure, mark 10 inches in each direction from each corner seam. In my pic I marked 12" but 10" worked better. I put a vertical pin at 10" to mark my place.

Find the halfway point of your elastic. I folded it in half and stuck a pin the middle.

Beginning on one side of the first corner, unfold the top of your hem and sew down the edge of the elastic just under the crease left by the iron.

Repeat, sewing a line down the middle of the elastic alongside the corner seam and the final end of the elastic at the 10" mark on the other side of your corner. Be sure not to twist your elastic. It should look like this:

Now we sew the hem in place, 1 side of the corner at a time. Remove your pins and tuck the elastic under the hem. Pull the elastic taut so that the fabric lays flat. Do not sew through the elastic. You are simply sewing the hem in place below it.

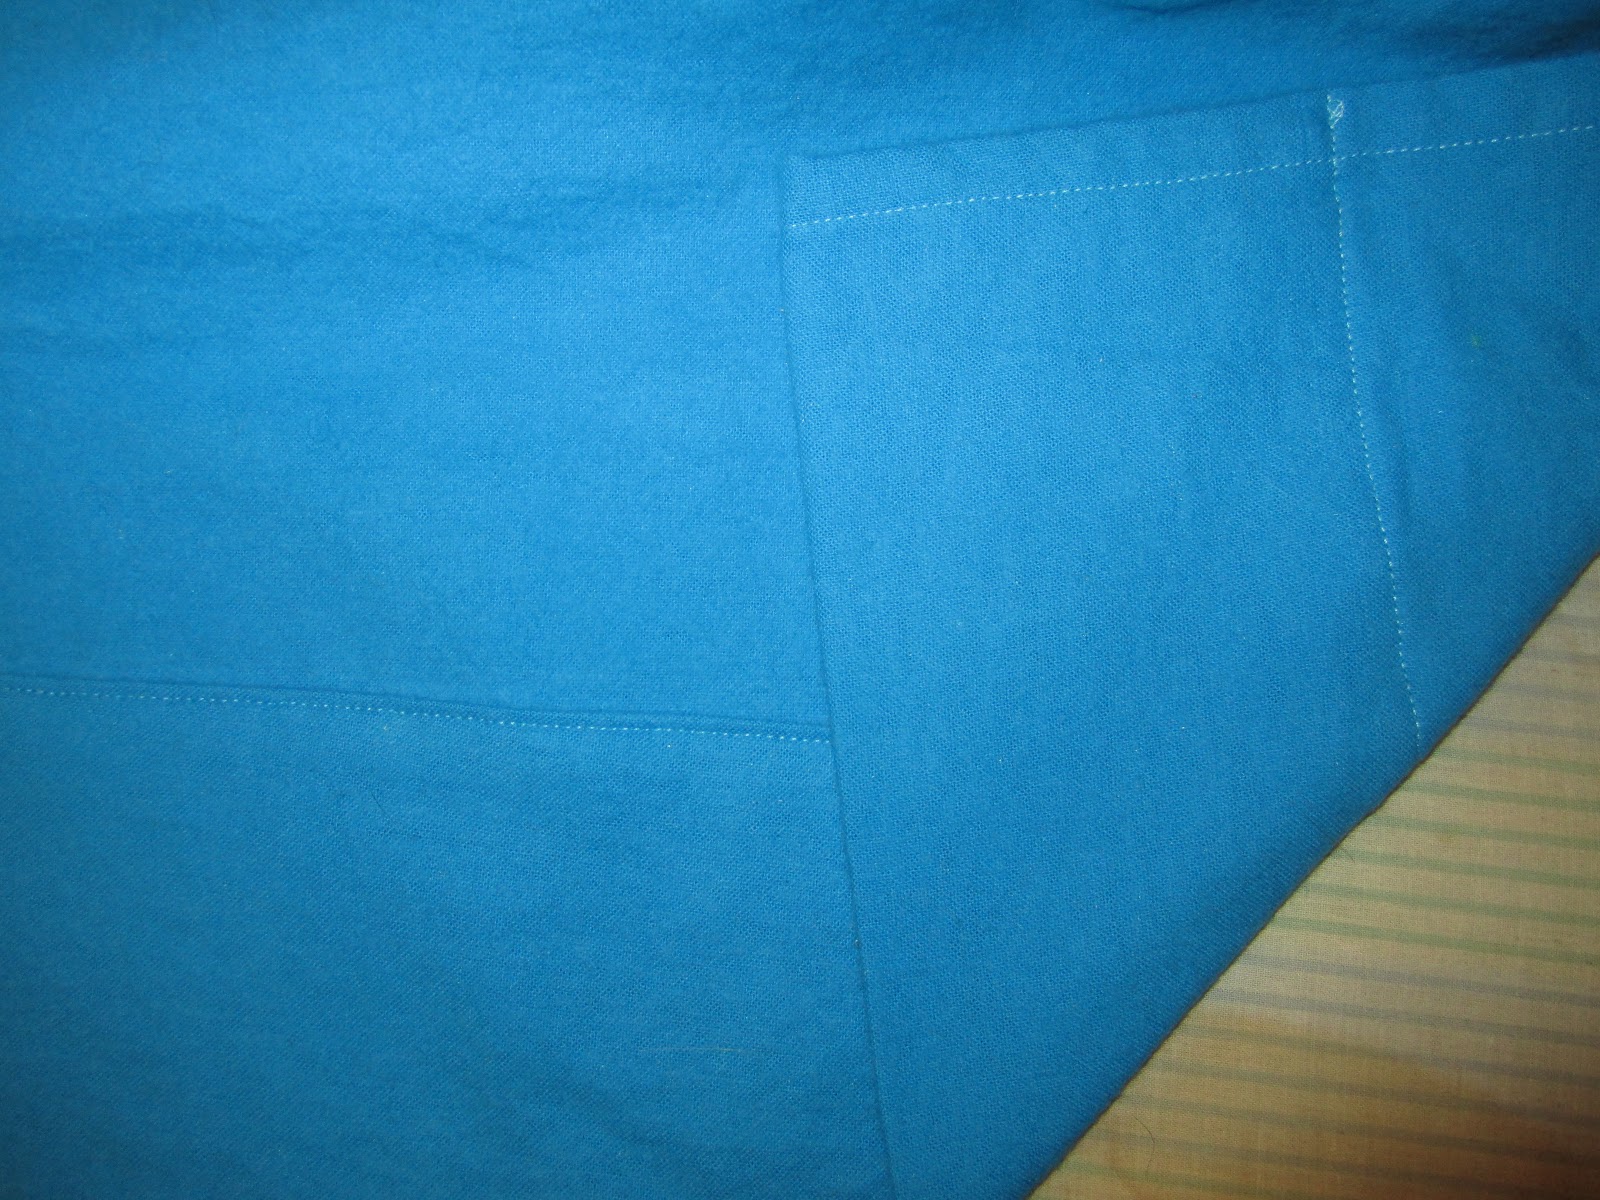
Once you reach the corner seam, remove the pins from the second side, tuck your elastic under and sew the hem in place. This is what you end up with:

The hard part is over! Next add a hem along the remaining bottom of the sheet (between the corners) and both long sides of the sheet. I folded under 1/4", pressed, folded under 1/2" pressed and sewed. At the top of the sheet, fold under 1/4" and press then fold under 4", press and pin. Be sure your sides are lined up nicely.

Sew this down and your sheet is done.
My little guy could not wait to get between the sheets. I had the crib/toddler mattress on the living room floor so that I could make sure the sheet was fitting well. Fortunately, we have a lightweight mattress!

Incidentally, my little one thought the novelty of his 'bed' on the floor was super fun and spent half the evening crawling on it and driving cars over it. Who knew?

Cost: 2 sheets and pillow case $13