Saturday, July 28, 2012

Fabric Ironed onto Walls

What a great idea!  I saw this concept at This Thrifty House and had to try it in our nursery!  It is pretty simple to do and definitely eye-catching.


All you need are fabric scraps, double-sided fusible web (often used for applique) and an iron. 

We have dots on my son's wipes case, toy box and some of the crib bumpers, so I carried the theme forward.  I searched my home for circles of various sizes.  I used a hurricane vase, cup, candle holder, etc. 

Trace your circles onto the fusible web with a pencil or pen.  Then cut around them, leaving a margin, and peel off the back.  Stick them to the back side of your fabric.
Cut out your shapes.  This was so easy to do while watching a movie.  :)  You can see that I hadn't ironed them perfectly flat before cutting, but it didn't seem to matter later.

I used double-sided tape to hold them on my son's wall so that I could manipulate them and decide where I liked them.  Do not peel the 2nd paper off the webbing yet!  Just put tape on the paper and press that against the wall.  Tip:  Wad the tape into little balls, make it bumpy.  It will be so much easier to take it off the wall later.  I originally just laid it flat against the wall and had a heck of a time peeling off the little pieces!

Once you like where your pieces are, it's time to iron.  I used a med-hot setting, no steam.  I held the iron against the wall for about 15 seconds.  Do not move around the iron, but press one spot at a time.  Pressing made my fabric look better.  This was because my son's wall isn't flat!  It has slight texturing, something I hadn't even noticed before.  Moving the iron made the bumps stick out. Pressing left the fabric smooth-looking.

We think it turned out pretty fun! 


Craft time: 2 hrs- dependent on your shapes, number, etc.
Cost:  Double-sided fusible webbing is about $6 for 5 sheets.  I used fabric scraps.


Wednesday, July 25, 2012

Putty and Slime

I have made slime 3 times this week. 

3 times!  This is not something I imagined during the blissful, dreamy days of pregnancy.  Ha!  But babies grow and toddlers thrive on novelty.  To that end, I've been trying to find a recipe that works for us.  Third time's a charm!  I found a recipe that isn't too...slimy.  This is more of a stretchy putty.  I like this better in my 1-year-old's hands and the clean up is a breeze!


I found this recipe at ScienceBob.com and modified it just slightly.  There are a few recipes for slime at ScienceBob and if you want slimier slime you should check them out!  Yes, I had to look up how to spell 'slimier', ha ha.

Necessary ingredients: Borax, white or clear Elmer's glue, food coloring and water.

Let's skip my first attempt for now...
Trial #2:  According to ScienceBob, mix a spoonful of Borax with a cup of water.  Set aside.  Pour half a bottle of glue (my estimate) into another bowl, add 3 Tbs water (good splash) and a dollop of food coloring.  Mix well.  Now add 1 spoonful of the Borax mixture to the glue and mix.  Amazing.  This will give you a good, fairly-runny slime.                               
My serious little thinker
My son did play with this for 10 minutes.  Pretty cool.  But he basically had to be hosed off afterward and the highchair cover had to be washed.  You can see by the oatmeal spots, that this was necessary anyway. 

Trial #3:  So, I decided to modify this for his (okay, my) needs.  I mixed up the remaining half of my glue, with a good splash of water and food coloring.  Then I added 3-4 Tbs of the Borax solution (just pour some in). 


The nice thing about this is that you can't really add too much Borax solution.  I mixed and mixed and some liquid just didn't get absorbed.  No problem.  The new slime/putty pulled right out.

And this was the best slime yet!  It stretched, it drooped, it bounced and squished, and it wasn't runny.  It easily rolled into balls and squelched flat.  It did not stain hands; it did not cover everything in sight.  It was super easy to rub off of skin (rarely needed) and plastic.  You still want to keep it from carpet, clothing, etc., but it's pretty great.


The little guy played with this for 15 minutes and was still going when we had to stop him for dinner.  Win!  I did watch him (and played too!) but he wasn't inclined to taste this batch.  He did attempt to eat the runny versions.   I guess they felt more like yogurt?


Gift idea:  I squished the slime into baby food containers and decoupaged paper to the outside.  I'm passing these out to my niece and nephew this week when we visit.  Wouldn't these make great party favors for a little one's birthday?

Craft time: 5 minutes for putty
Play time: 20 minutes!
Cost: $2 for glue
Age: 16 months


PS:  Trial #1:  My first version of slime was the half clear glue, half liquid starch recipe that is all over Pinterest.  It was a fail.  It was too runny to manipulate.  Still, the texture was interesting and Little Man did play with it for 5 minutes or so.  Many people love this version, so I blame my starch and not the recipe. ; )


Monday, July 23, 2012

Pipe Cleaner Game

Remember those containers we decorated?  We can use one of them for a fun and challenging pipe cleaner game.  I was initially worried that this would be too advanced for a 16-mth-old or that I at least needed to make the holes larger.  Little Man took right to it, though.  It's a great way to flex his fine motor skills.


Need: recycled container, pipe cleaners, basic tools.

This is simple so directions may not be necessary, but for clarity, here goes:

I used an oatmeal container with a plastic pop-on lid.  I covered it with a fun travel fabric. You can find directions here.  Now we just need to make some holes in the lid for the pipe cleaners.  Remove the lid and use a Phillips screwdriver to drive in 4 holes.  Be sure to go from the top pushing down.


Give the screwdriver a good twist to make sure the hole is nice and established.  Remove the tool and use scissors to trim away the sharp edges just pushed down.

The lid is done, put it back on.  Cut pipe cleaners in half so they will fit inside the container.  You're done!  You have a bright, fun toy that will challenge your little one.

Little Man brings this game to me about once a day.   I empty some of the pipe cleaners and encourage him as he works.  

Craft time: 5 minutes
Play time: 5 minutes per game
Cost: $2 for pipe cleaners, recycled container
Age: 16 mths

Saturday, July 21, 2012

Sidewalk Paint

As seen on Pinterest and numerous blogs: sidewalk paint is fun, inexpensive and easy.

The ingredients: 1 cup water, 1 cup cornstarch and food coloring. 

Mix the water and cornstarch well, divide into muffin tins, then add the food coloring of choice.  I used Betty Crocker's Gel Food Coloring. 
I added brushes, but my little guy was only semi-interested in them.  It was hands on!  My husband got in on the action and painted our son. 


Squishy fun!

In case you are wondering, the blue dye heavily painted on my pale, blond baby did leave faint marks for a day or so on his head (which were fun to explain...)  Other than that, no dye marks were evident on anyone.  A little dye goes a long way when mixing the colors.  Many parents may not paint their children and that would help too. ;)
 <----Results---->

We really liked the way the paint turned out. 

My son was in play clothes, of course.  Surprisingly, I don't think they stained.

The driveway was cleaned by time and rain within a week or so. 

I hope you try this project!  We had a lot of fun as a family.

Craft time: 5-10 minutes to mix up paint
Play time: 30 minutes before our tyke starting wandering (we were still having fun!)
Cost: FREE
Age: 15 months


Thursday, July 19, 2012

Creative Containers

Tots have toys, tiny toys, and they need some place to go.  We save empty coffee and oatmeal containers to corral toys and I recently decorated a few to make them more fun. 
The first container is a pipe cleaner game, the second 'Bug Jug' holds the dozen small bugs my son has (and leaves around the house to terrify me when I'm groggy first thing in the morning and think scorpions and tarantulas have invaded), the third holds small balls that go with a Melissa & Doug Tower game.

These are simple to make and take about 45 minutes each.  You need an empty container, decoupage glue, sponge brush and a scrap of fabric, wrapping paper or scrapbook paper.

Measure your container's height and width. Add an inch to the width for overlap.
 Cut out a rectangle of your chosen fabric or paper. I think this Travel Along fabric from Joann's is pretty cute.
Working a few inches at a time, add glue to the container with a sponge brush, then smooth the fabric over it.  The top of the fabric/paper should be lined up evenly with the top of the container.  Be sure to smooth the fabric or paper as you go.  Paper especially loves to get bumpy.
Once the fabric completely surrounds the container, trim the overlap as needed and glue in place by smoothing decoupage below and over the overlap.  Then add a layer of decoupage over the entire piece, being sure to cover the top edge.
Now you can trim the bottom of the fabric even with the bottom of the container or wrap it around the bottom.  I cut the wrapping paper even with the bottom and wrapped the fabric.  To wrap: add glue around the bottom, press the fabric down, then decoupage over the fabric, smoothing in place.
 Allow the containers to dry upside down for at least an hour.  All done!

For the 'Bug Jug' I made and printed a label then decoupaged it over the dried paper.  Be sure the ink is completely dry.  I did not, and there is faint smearing.  I hot glued one of the beetles to the top of the lid for fun. 

Pipe cleaner game to follow!

Craft time: about 1 hr each
Cost: Recycle!  You probably have all supplies on hand: empty cartons, scraps of fabric or wrapping paper and decoupage.  If not, you can get fat quarters or wrapping paper for under $2 and decoupage is around $7 for a good-sized amount.


Wednesday, July 18, 2012

Baby's Own Photo Album

How about an album just for baby? 

My adorable son's first words were 'da-da' and 'dog'.  He now says half a dozen words but NOT mama.  Talk about making a girl feel neglected!  So I thought I'd make him his own photo album that we can look at together and point out each person in our family (mama!).  He loves flipping through his books, so this will be a new 'book' for him.

I found a basic 4x6 album for around $1 and then had fun embellishing.  Here are some of my pages:


Little Man was flipping through the book before I even finished!

Craft time: variable
Play time: 5-10 min each 'reading'
Cost: $5 (photos and album) plus any embellishments you use (I had lots on hand)
Age: 16 months


Sunday, July 15, 2012

Simple Sillies 12-15 months

Keep It Simple, Silly!

Here are some very simple ways I found to let my son explore his world at 12-15 months.


1)  A pile of rocks!  He was in boy heaven.

2) Non-toxic markers. Take off the clothes, put a play tablecloth underneath him and give him free rein. They're washable, after all!


3)  Exploring the jungle, i.e. front yard


4) Wall decals. I always see these gracing cute nurseries, but put them down at the little guy's level and he can explore and maybe even learn something. LM now walks by and points out the pictures he has learned while saying the words or the animal sounds.


5)  'Help' prune the roses


6)  Bubbles!  He can't blow bubbles yet, but they're fun to watch and grab at.

7)  Playgrounds.  This is a great age to introduce little-kid-friendly playgrounds.  School yards tend to be too advanced, but city parks have some better sized toys.


8)  Egg Rattles!  Fill Easter eggs ($1 for 12!) with varying amounts of dry beans, rice, etc.  Wrap tape around the eggs to seal in the small parts.  Maybe they're not super cute, but they're lots of fun.


Felt Birds in a Tree

I am so happy with this project.  Johnny in a Dress has an adorable Christmas Tree tutorial.  I love it!  Talk about a kid-friendly tree!  But it's July, and I reeeally wanted to make something like it now.  Just call me 'Impatience'.  So, I came up with this super fun idea.  It's a felt tree with felt-backed birds for Little Man to move around.  Yay!


 For this project I used double-sided fusible webbing, some wool felt for the back of the birds, 5 pages of green craft felt, 1 page of dark brown craft felt, craft felt scraps for the nest, various fabric scraps for the birds and poster tape. This is a great "stash-buster".

Alright, first, get online or check out clip art and find some bird silhouettes that you like.  Print them off and cut them out.  Trace the silhouettes onto 1 side of your fusible webbing (I used Steam-a-Seam 2).


Cut out your shapes and peel off one side of the paper from the webbing.  Press it against the felt.  I ran a warm iron quickly across the back of the felt (non-paper side) just to hold the webbing on a little more snugly.

Cut out the felt. 

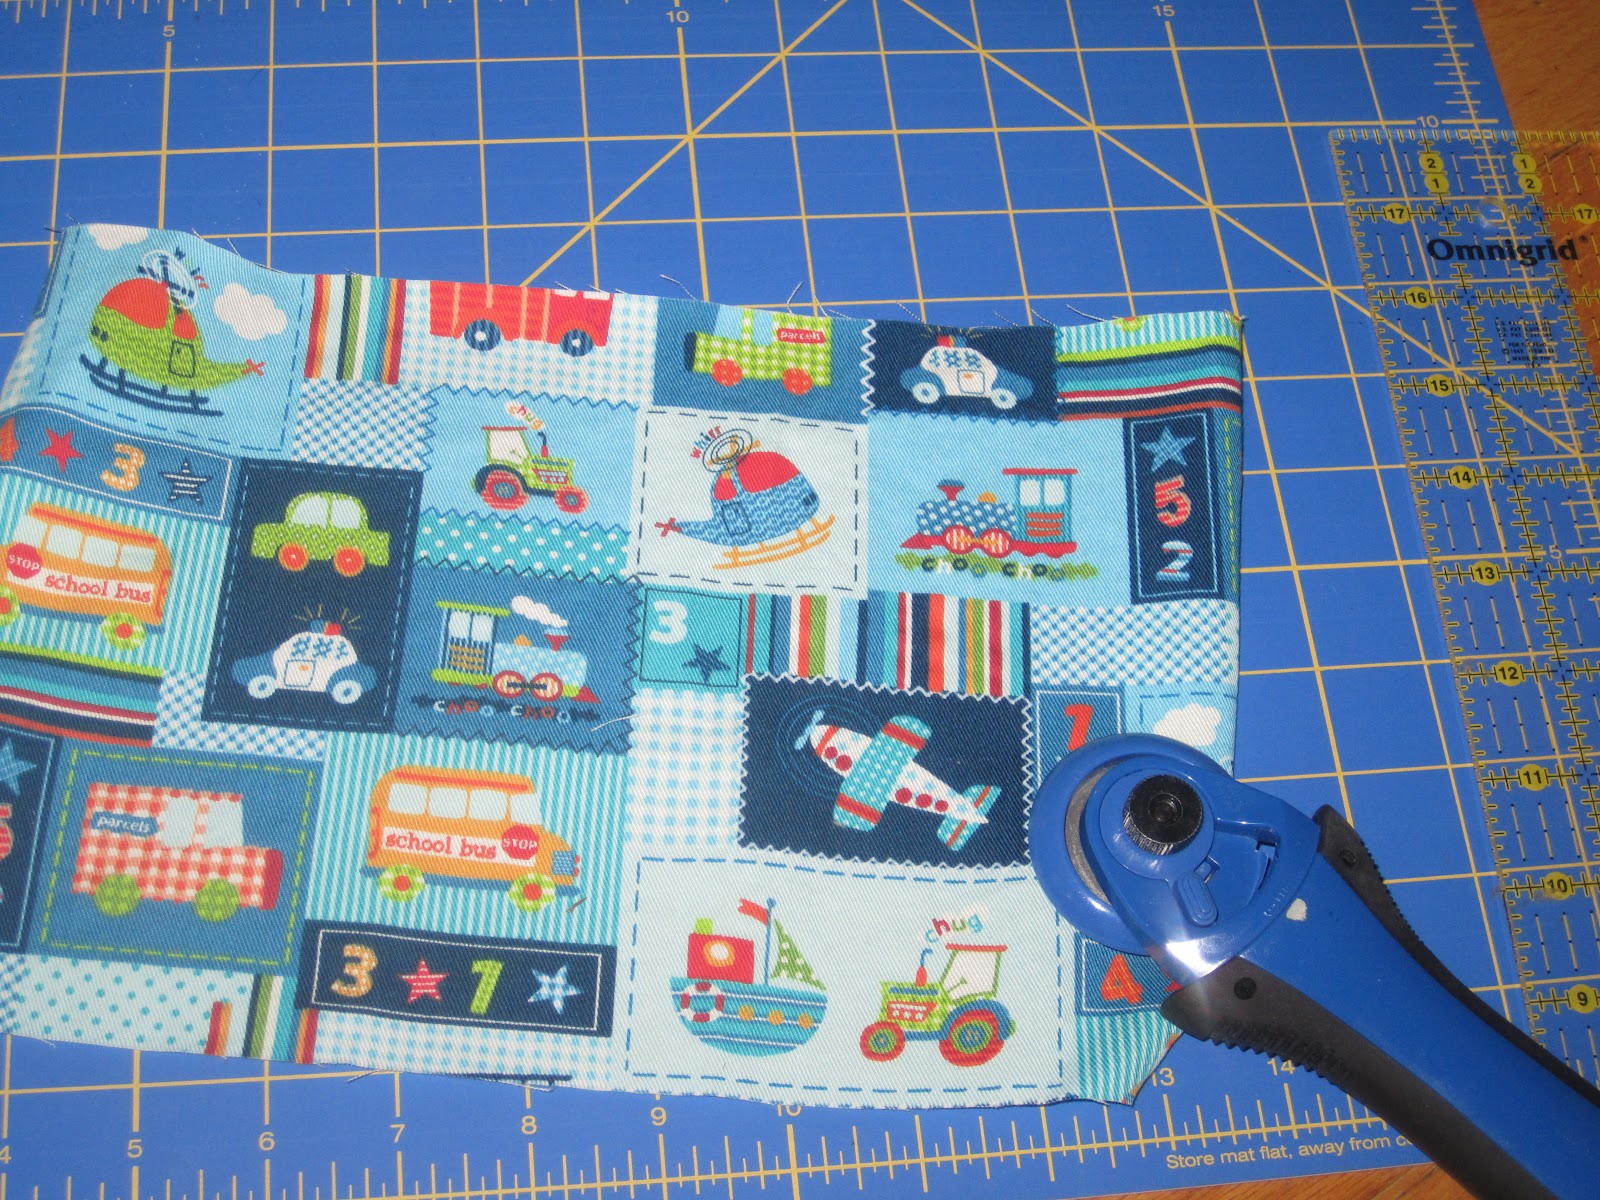
Pick a fabric that you want to be the main pattern for the bird. Large patterns don't work as well.  Peel the second piece of paper off and press it against the back of your fabric.  Iron the fabric to the webbing.  Felt should be down and fabric on top as you iron.  Follow directions, mine said to press for 10-15 seconds. 
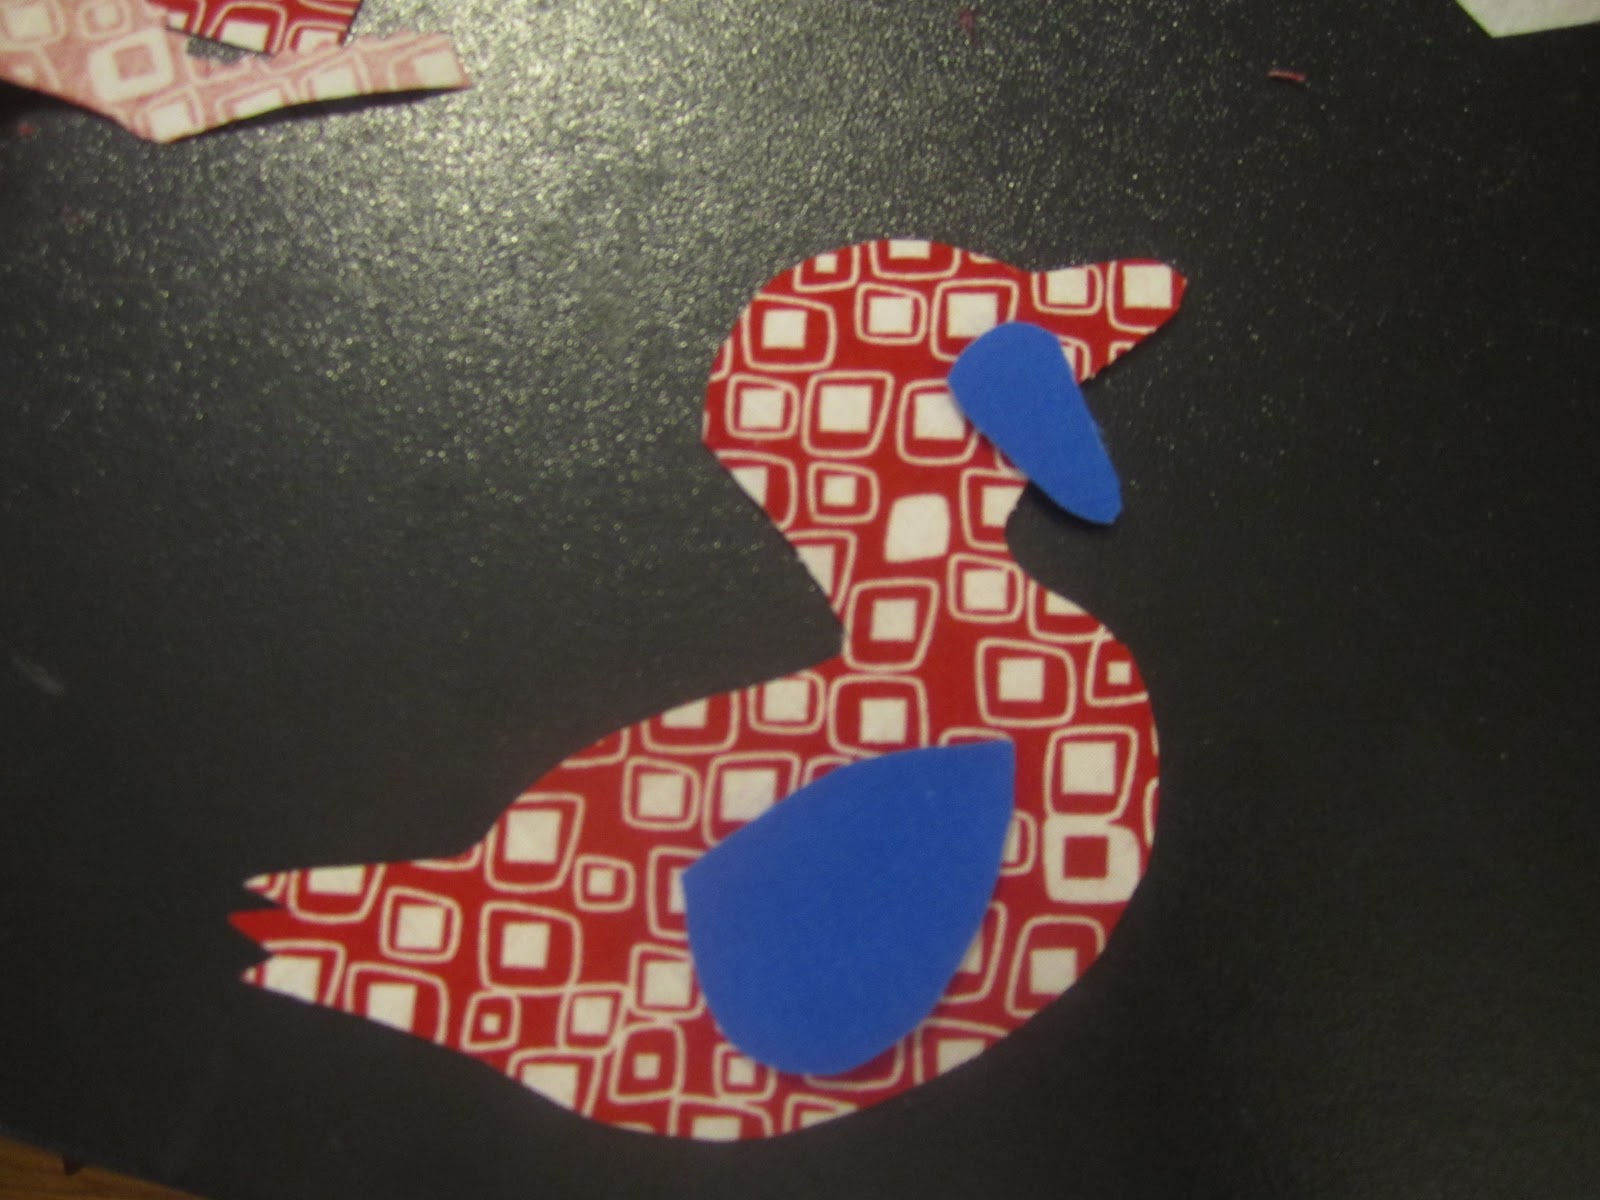
Once ironed and cooled, cut out your bird.


Alright, grab your paper silhouettes again and cut out any pieces that you want to highlight: wings, beaks, etc.


Trace the parts onto some webbing and cut out the pattern.  Now find some fabric to contrast and accent each of your bird bodies.  Peel off one side of the paper from the webbing and press it to the back of this fabric.  Briefly run a warm iron across the front (non-paper side) of the fabric.


Cut out your pieces and test them against your bird body.


Peel off the last piece of paper and iron in place, following manufacturer's instructions. 


All done!  Aren't they cute?  And pretty simple, too.

On to the tree...  I tested my outline by placing full pieces of craft felt against the wall to get an idea for size.  Then I cut tree (more like cloud) shapes from the green and a trunk from the brown. I added a few branches and played around with the placement of the greens. Laying it out helped a lot. Using scraps, I also made a bird's nest.


Use fabric glue to attach the felt pieces together where they overlap.  Then flip the whole thing over and place pieces of poster tape.  I just randomly had this tape on hand, but it rocks!  It is wider than my regular double-sided, and it was nice to have a liner on it so that I wasn't constantly fighting the other sticky side.  I was able to wait to remove the liner until I was ready.  I think this tape is also stronger.  If all you have on hand is regular 2-sided, I bet that works too.  Use plenty of tape!


Use more tape than shown.  :)


Time to hang it up.  Firmly push the taped tree against the wall.  Next peel the felt off of the tape leaving the tape on the wall and set aside the tree for a moment.  To get the tree to truly stay up well, use hot glue!  I left the 2-sided tape on the wall, applied hot glue on top of the tape and then quickly pressed the felt back against the tape/glue.  This is the key to getting the tree to stay on the wall.  Gluing the tape (instead of the wall itself) also allows you to remove the tape later with no damage to your wall!

Add your new cute birds.
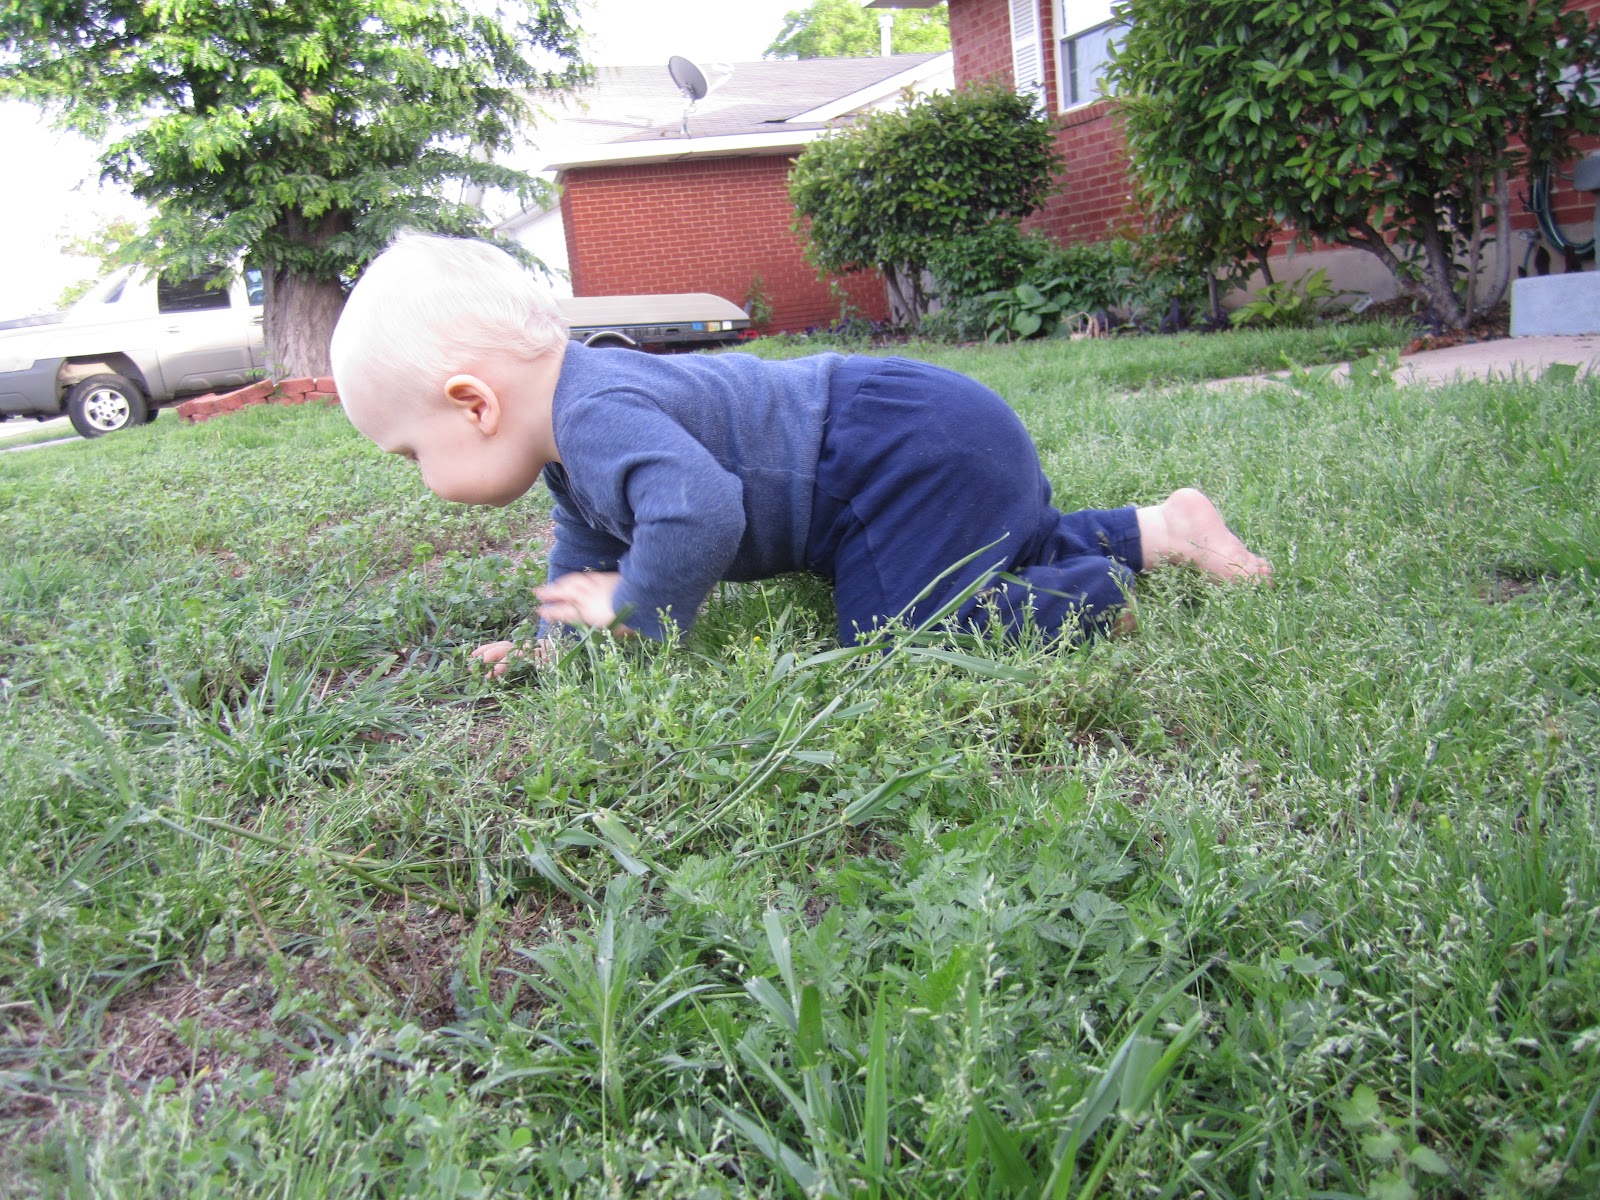
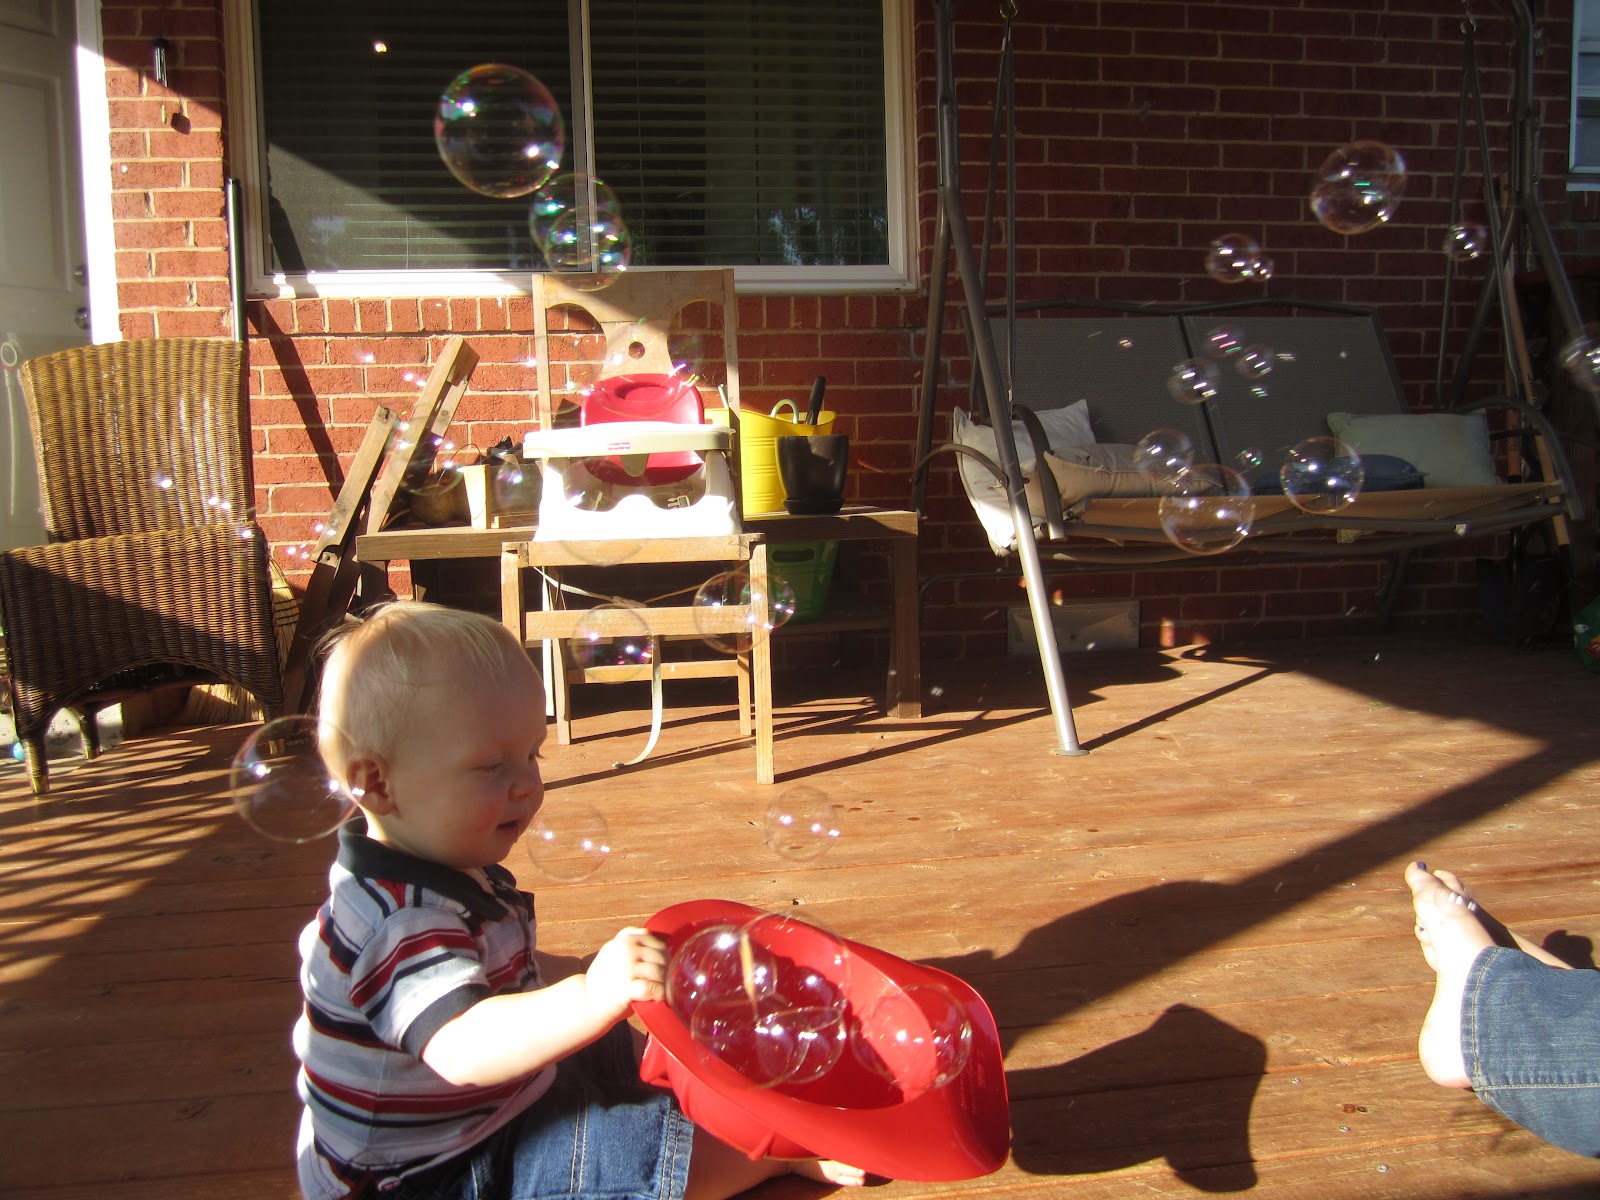

Time to play!
                                                      

Sorry about the diaper baby!  This was post-nap in hot July, so clothes were optional, LOL.  Little Man loves to tear the birds down really fast, slowly put them up and then tear them down really fast again.  Boys! 

Craft Time: 3-4 hrs
Play time: 10 min at a time, throughout the day
Cost: I had all supplies, but the craft felt would total $1-2, wool felt maybe $3 and fusible webbing about $4 at Joann Fabric.  Use your fabric scraps or look for remnants at your favorite store.  If you had to buy every supply (glue, fabric, tape) you might spend $15.
Age: 16 months